Showing posts with label Sally Hansen. Show all posts

Wednesday, October 31, 2012

Queen of Hearts

I am starting this post off by stating just how much I love the Alice in Wonderland directed by Tim Burton. In fact I just got done watching it again <3

For this mani I started off with one of OPI's newest Designer Series polishes, DS Indulgence. I absolutely love the golden sparkle in this polish. It is so unbelievably jewel-like and pictures do not do it any justice whatsoever.

If you are wondering why you cannot see my pinky nail here it is because I stamped on it and then realized that I hadn't taken swatch photos yet. Silly me. Here is a photo of the first layer of stamping on my nails done with Wet'n'Wild Black Creme and Mash plate 12.

I then stamped with Cheeky plate CH3 in Black Creme on my ring finger and my franken Sugar & Spice on my index and middle fingers as well as my thumb. I then used Sugar & Spice and Mash plate 19 on my pinkies and used Sally Hansen XtremeWear White On and a striping brush to put a line delineating the stamped/non-stamped portions of the three nails with partial stamping.

I had the hardest time getting my extra-large stamper to pick up those blasted hearts. I ended up having to go back to my original stamper in order to get the polish to transfer.

Nurse! I need a Doctor!

I had a LOT of fun with this manicure. I also got to test the school-glue-as-peel-off-basecoat method since I knew I was going to be using glitter. Huzzah for planning!

I used one coat of glue on my nails and let it dry completely before applying my regular base coat and two coats of Essie Skirting the Issue. Which, I might mention is THE perfect blood red jelly for Halloween manicures. I am so glad I bought this!

Then I used Orly Right Amount of Evil and topped with another coat of Skirting the Issue and top-coated with OTD top coat.

I waited about twelve hours before moving on to the next part of the manicure just to make sure everything was dry and set. With a toothpick and a cuticle pusher I then went to work peeling of the polish on my ring finger nails. I know, I know, I could have made everything simpler if I'd just skipped over those nails in the first place but I hadn't thought about the next little touch until I was already started. And besides, it gave me an excuse to test the glue-as-base-coat without ruining the entire mani.
 No nail damage!
All peeled off!

Peeling it off did take nearly as long as if I had just stuck my finger in acetone to soak the stuff off but it certainly resulted in less nail damage! Perhaps it would have been easier if I'd used two coats of glue.

After cleaning off the residual polish with remover I used my regular base coat and Sally Hansen Complete Salon Manicure Green Tea on my newly-bare nails. I decided to try out another glue tip and covered the area of my finger around my nails with glue in preparation for a bit of splatter. I did mention that Skirting the Issue is THE perfect blood red, right?
Prepped for splatter

Messy messy messy

 Left hand

Right hand


So now that my family officially thinks I'm strange . . . Oh who am I kidding, they already knew it! LOL! And yes, that is a syringe pen. I picked it up for a dollar at the Spirit Halloween store. I kind of smudged the red splatter on my left hand with the top coat but I think I like it better that way honestly. It makes it look more real.

Spiderweb French

I think I might like creating spiderwebs a bit too much! LOL! I got the idea for this mani from a post on Mini Nail Blog. My nails aren't as long as hers but they are nearly the same shape so I thought I'd give it a try. I started with two coats of Sally Hansen InstaDry Orange Splash.

I then used Cult nails Deal With It to create an uneven french tip.

And with a striper brush I used China Glaze Urban Night to create the spider webs.
 Right hand.

Left hand.


Sunday, March 18, 2012

Layering Fun

I can't believe I still haven't posted this one yet! This is one of the new Sally Hansen Diamond Strength polishes, Black Tie (two coats w/ top coat, full sun):


Then I topped this with one coat each of Sally Hansen Princess Cut, another new Diamond Strength polish, and Finger Paints Motley and another layer of top coat:


There is nothing I won't put flakies over XD

Sunday, February 26, 2012

Frankens: Good enough to swap

So in my last post I mentioned two frankens that I made and swapped for two polishes from Amy over at I'm Feeling Nail-Venturous. Well here I am to tell you all about them!

First up is Make a Scene, a bright orange with copper and holo glitter. To make this polish I used Sinful Colors Pinky Glitter, All About You, Serena and Chloe, Pure Ice Hot Tamale, and Supernail glitter in Sunset & Silver Rush. This is actually the first bright orange that I've made. I had been trying to think of a color that was different from all other frankens I had done and realized that orange was not on my list yet. Considering my love for the color I just had to rectify that oversight!

This is two coats of Make a Scene with one coat of OTD top coat.

I just happened to be wearing this when I finally bought OPI A Roll in the Hague and just had to use it. So I did a diagonal tip with Rill in the Hague with a line of Pure Ice Jaguar to delineate the two orange polishes.


And if you think it can't get any better than that wait until you see the next polish! Prestidigitation is a gorgeous (if I do say so myself) purple jelly polish absolutely PACKED with iridescent and holo glitter. I lost count of the number of facebook notifications I got just after posting some of the following photos in one of the Facebook groups I'm in. The following photos show three coats of Prestidigitation and two coats of OTD top coat. Yeah, it's a bit of a hungry glitter and a pain to get off but oh so worth it!
Taken with flash
Close-up 
Full sun
Full sun

You better be clicking those photos to get the full effect because if you don't you are really missing out! To get such a glitter-packed polish I used Sinful Colors Pinky Glitter, SH HD Laser, WnW Blue Wants to be a Millionaire, and China Glaze Flying Dragon (finally, a good use for Flying Dragon!).

Luckily the ingredients for both of these polishes are still readily available so I was able to make a second set to send to Amy and keep the originals for myself ;)

Wednesday, December 7, 2011

What I found at Rite Aid

Hey look! A post during the week! I was just too excited about this to wait until Saturday though. I apologize for the cell phone pics but I don't exactly carry my Nikon D40 into Rite Aid. And what was I doing in Rite Aid tonight? What do you think a polish addict does? Shops for polish of course! I had $4 of  +Up rewards to use before Saturday though so I totally had a valid excuse . . . . >.>

Anyway! I'm sure you want to see what I found, right? RIGHT? Good, 'cause I was gonna tell you anyway :P

So, the first thing that popped out at me was a full display of the Sally Hansen Gems collection. Sorry, didn't get a pic of it but there were so many of them that looked like complete dupes for other polishes that I'd seen and I've seen them swatched in enough blogs that I didn't really think a pic was needed.

The next thing was a display of the new Sally Hansen Salon Effects strips:


I must say that I absolutely ADORE Love Letters! I also found the Effects strips Christmas collection:

Aaaaaaaaaaaand, would you believe it? I found VALENTINES strips out already!

Just a weeeeee bit early for that don't you think? Anyway, the find that I absolutely fell in love with was a display of the new Sally Hansen Diamond Strength polishes/bottles. I'd heard in one of my Facebook groups that they had released new bottles but I had heard nothing about new polishes!

I kinda like the new bottles. But I REALLY like the new colors. Why? BECAUSE THERE ARE FLAKIES!  That's right, FLAKIES! The display here doesn't have all the new colors but it does have two of the three flakie polishes (I know there are three because there was also a brochure with the display showing all the new colors.

Of course, I knew EXACTLY what I was using my $4 +Up rewards for! I grabbed a bottle of Glass Slipper (large white flakies) and a bottle of Sinful Colors Winterberry to go with it. I can hardly wait to try out that combo this weekend! Now I just need to hunt down Princess Cut (flakies in pale pink base) and Black Tie (black duochrome).


Glass Slipper and Winterberry


What about you? Have you found these new Sally Hansen polishes? If you've posted swatches I'd love to see them!

Saturday, November 5, 2011

Harlequin

Just a short post today but I wanted to share the manicure I created for Halloween. It didn't last long before chipping (those pumpkin polishes are terrible on their own) but at least I got a photo before that happened.

I used the orange glow in the dark pumpkin polish from Rite Aid, Sally Hansen Uptempo Plum, and Sinful Colors Daddy's Girl.


Sunday, October 30, 2011

All Stitched Up

EDIT: If this shows up in the wrong place then Blogger screwed up. It's supposed to be posted on Oct 30, 2011.

You didn't think I'd neglect to post at least one Halloween mani did you? Halloween is my favorite holiday, edging out Christmas by a narrow margin, I couldn't possibly neglect it here on my blog!

The mani I'm posting about today is one I'm very proud of. I admit though that it wasn't entirely my own idea. I was inspired by I'm feeling Nail-Venturous' Funky Frankenstein French mani, though I did add my own twist to it. So, to whet your appetite here are the polishes I used in my design:

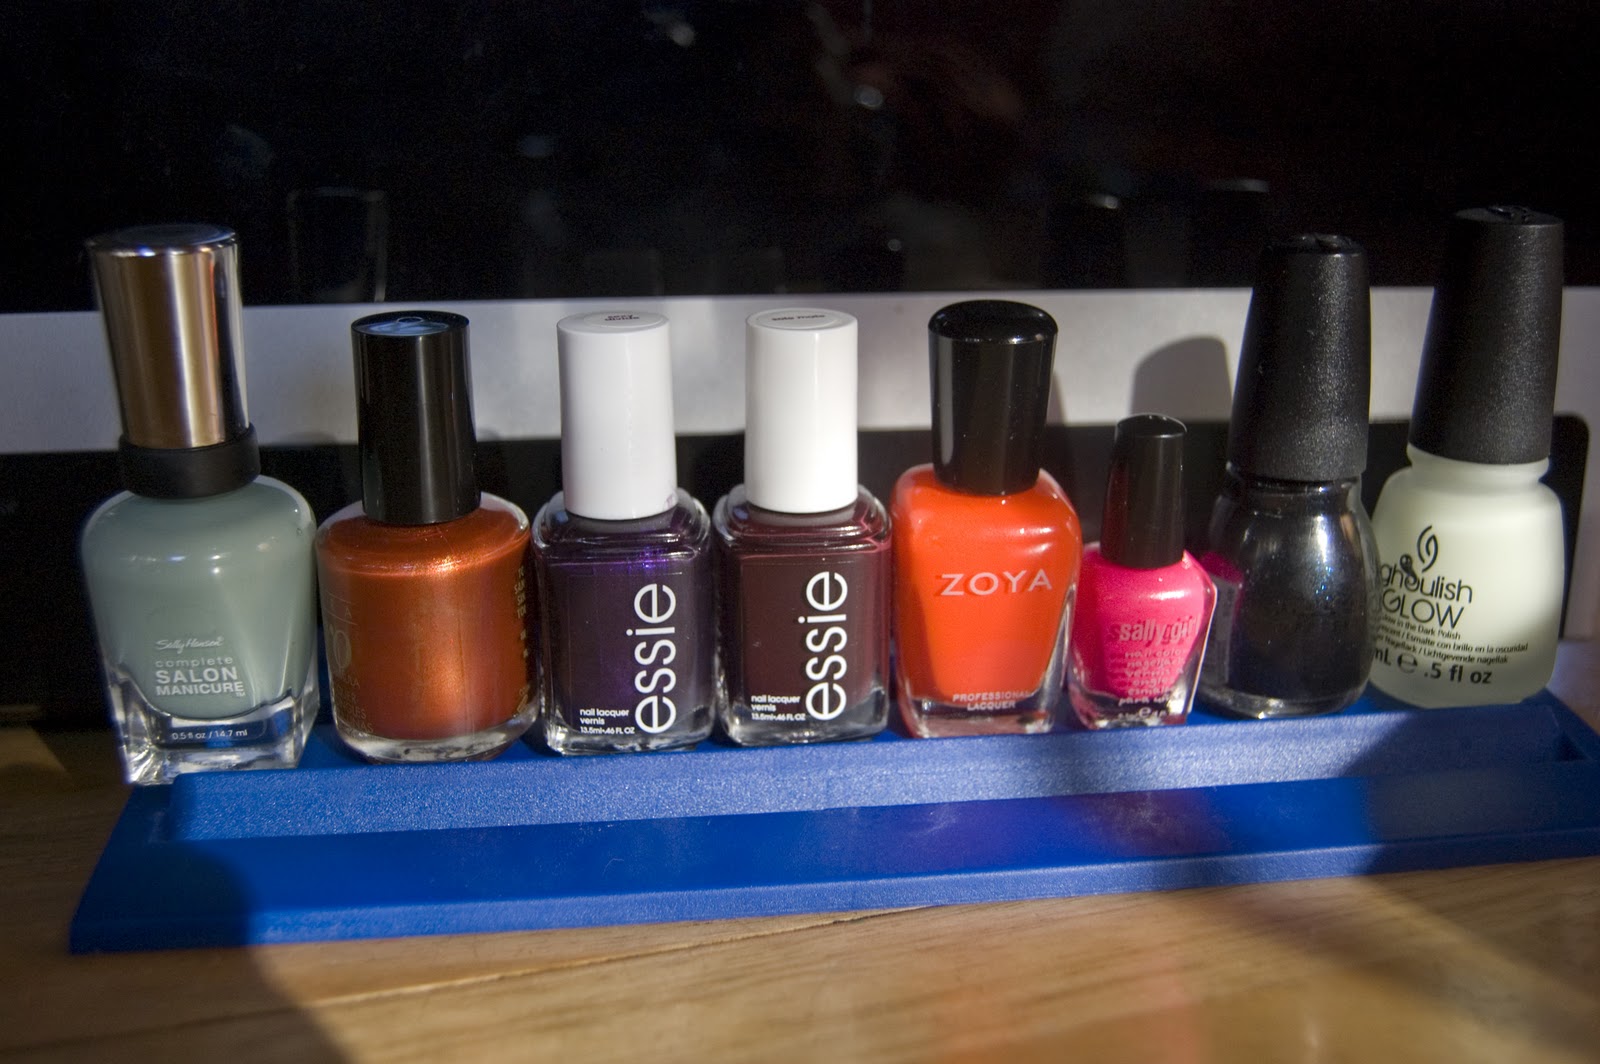
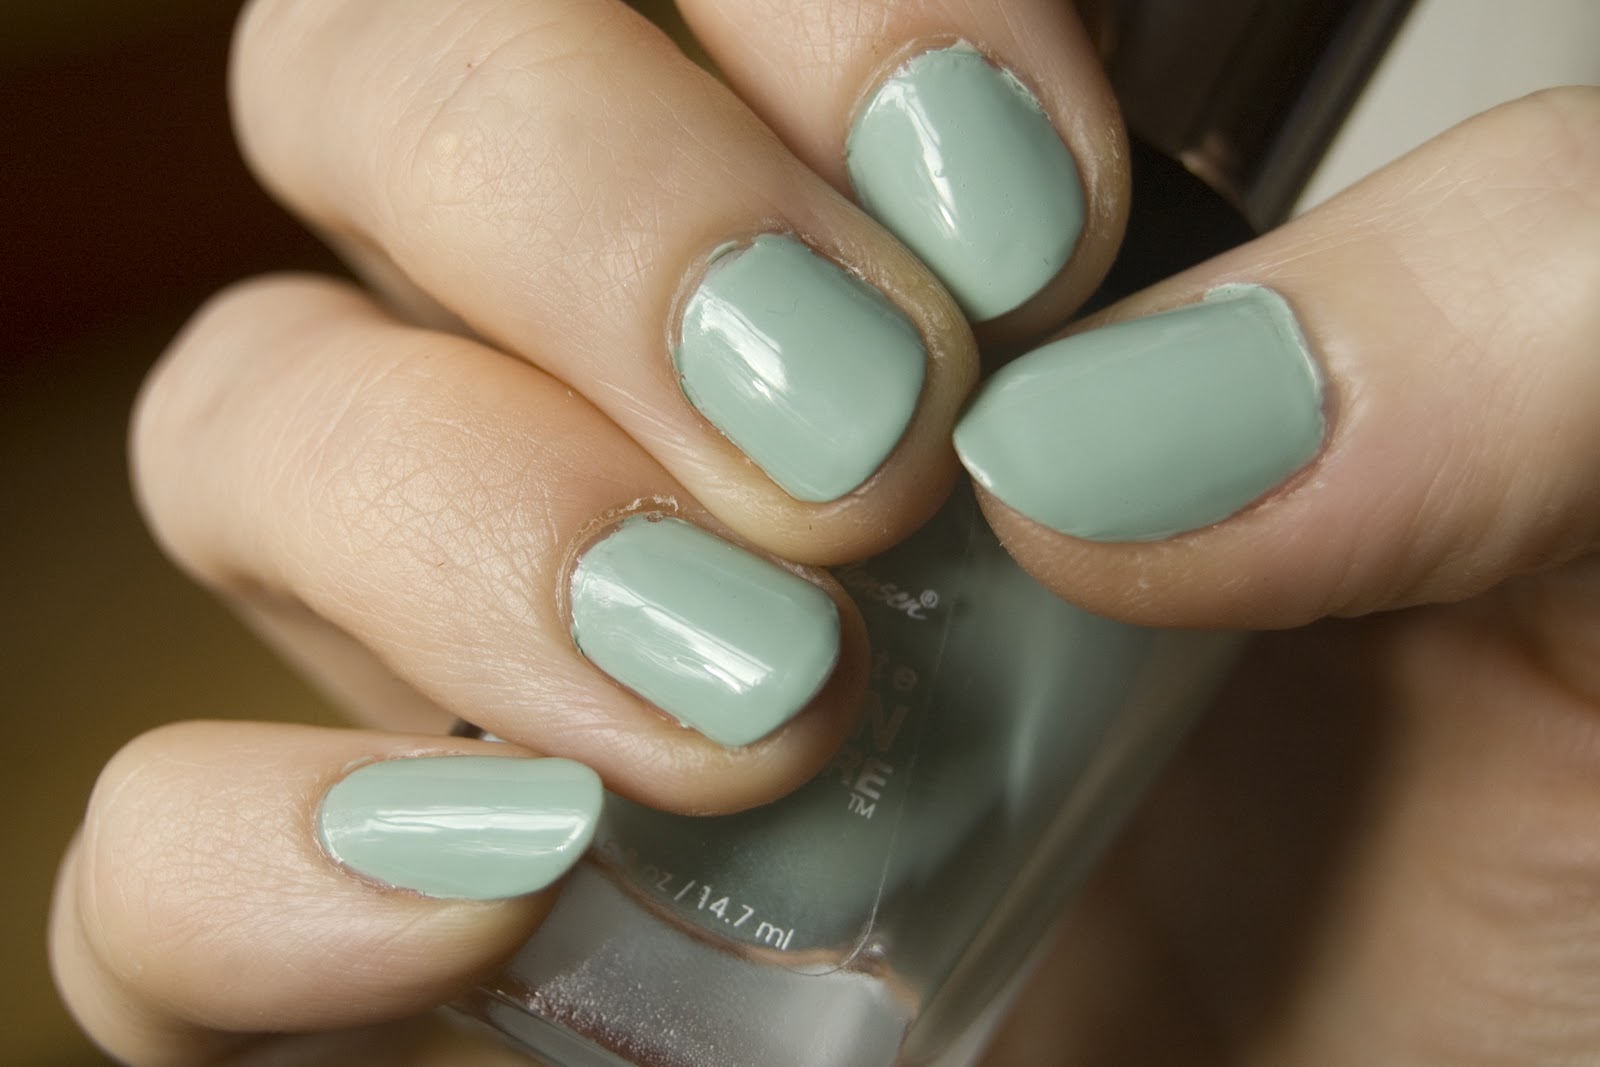
I used Sally Hansen Green Tea as an all-over base, then used tape to cover what I wanted to keep that color. Each hand had one finger each painted with the following polishes: Nina Ultra Pro Burnished Bronze, Essie Sexy Divide, Essie Sole Mate, Zoya Paz, and Sally Girl #812156. Then I applied two coats of China Glaze Ghoulish Glow and did the stitches in Sinful Colors What's Your Name over the top.

Sally Hansen Green Tea


My rarely seen right hand!


Please excuse the bandage, I sliced my thumb open at school while cleaning my scissors ^^;


And the best part is yet to come!

So, you know how I said I put two coats of Ghoulish Glow on there? Well I decided to try getting photos of the glow in the dark effect . . . and I actually succeeded! 

Bottle pic

Right hand

Left hand

I love love love how the glow is brighter over the Green Tea but still visible over the other colors! I'd love to see what all of you have been putting on your nails for Halloween!

Saturday, October 8, 2011

My Birthday Haul and Mani (plus other goodies)

That's right, yesterday was my birthday! I had such a great day, lots of well wishes from friends and family and quite a few polish discoveries, some of which I took advantage of ;)

Before we get to all that though I want to start with my mani! A couple weeks ago I ordered Zoya Valerie in celebration of passing my final pre-salon test at school and I was quite happy at how fast it arrived. I ordered it thursday and got it saturday! And since I just happened to check the mail after I'd taken off my previous polish I wasted no time in putting her on!
 two coats with flash

natural light

Isn't she gorgeous? I wore this on it's own through wednesday and then decided to spice it up a bit for thursday. I did a gradient with Sally Hansen Nail Prisms Amber Ruby and Sinful Colors All About You.

Then thursday night I decided it needed a bit more spice so I added Revlon Scented Orange Fizz on the tips and on each ring finger I did an autumn leaf design. The polishes used for the leaves were Nina Ultra Pro Evening Sun, Sinful Colors Sugar Sugar, and Revlon Scented Beach.


Now onto the other goodies! I decided to stop at a Walgreens on my way to school friday morning since I had a bit of cash to spend thanks to getting tips from some wonderful clients when I was on the salon floor monday and tuesday. Boy did I ever hit the jackpot! I finally found four of the Wet 'n' Wild Halloween polishes with the gravestone caps! I picked out two and a purple liquid eyeliner with holographic glitter. I also found the new L'Oreal colors! Of COURSE I grabbed Owl's Night for myself ;) And then I found something else . . .

There was also a black polish but that was a plain creme finish. THESE little lovelies all had holographic glitter! They were only $1.99 but I decided to wait on getting them.

After school I was going to get a Fribble from Friendly's since I heard they were filing for bankruptcy and I wouldn't likely get another chance . . . unfortunately the local branch restaurant had already closed :( Since I couldn't get the milkshake I drove across the street to Rite Aid for a bit more polish therapy. So glad I did!

I found more of the L'Oreal polishes along with the new Sally Hansen Complete Salon Manicure colors, the Sally Hansen Salon Effects Halloween strips and some polishes from a brand I'd never heard of before, City Color.
Aren't those bottles adorable?


So I'm sure you're wondering what else I got huh? Ok, here's my final haul pic (minus giftcards and the eyeliner I mentioned earlier)
Top row: Artisan flowering jasmine green tea from Bar Harbor Tea Co. (I love their Wild Blueberry <3), Essie Sexy Divide, Sole Mate, In Stitches, Merino Cool.
Bottom row: Fantasy Makers by Wet 'n' Wild Creepy Pumpkin, Black Magic, L'Oreal Owl's Night, Sinful Colors Serena and Chloe, City Colors Reddish Purple


Overall I had a marvelous day (plus homemade chili and cake when I got home that night)!